How to Ship a Bubble Mailer Without Guessing

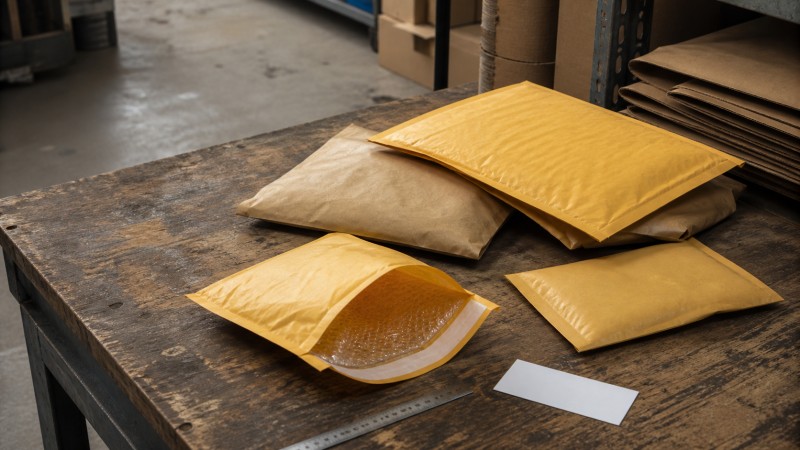
Quick answer: choose a bubble mailer that fits the packed item, protect any weak edges, seal it without stressing the flap, place the address on a flat face, then weigh and measure the finished mailer before buying postage. A padded envelope is useful for many small products, but it is not a substitute for a rigid box when the item can crack, bend, or be crushed.
The mistakes are usually small: a mailer is one size too tight, a label crosses the seam, or a product slides around inside a bag that looked “about right.” For one personal shipment that is annoying. For an ecommerce operation, the same mistake repeated 500 times becomes a packing problem, a postage problem, or a return problem.
What Is a Bubble Mailer?
A bubble mailer is a flexible envelope with a cushioning layer bonded to the inside. The outer layer may be kraft paper, white paper, poly film, or another flexible material. The inner bubbles absorb ordinary knocks and rubbing, while a self-seal flap closes the package without a separate strip of tape.
That construction makes bubble mailer packaging a useful middle option. It offers more protection than a plain envelope and uses less material and space than a corrugated box. It works well for accessories, books, samples, cables, small packaged goods, and selected cosmetics. It is a poor choice for a heavy object with sharp corners or anything that needs rigid corner protection.
Choose the Mailer After Packing the Product
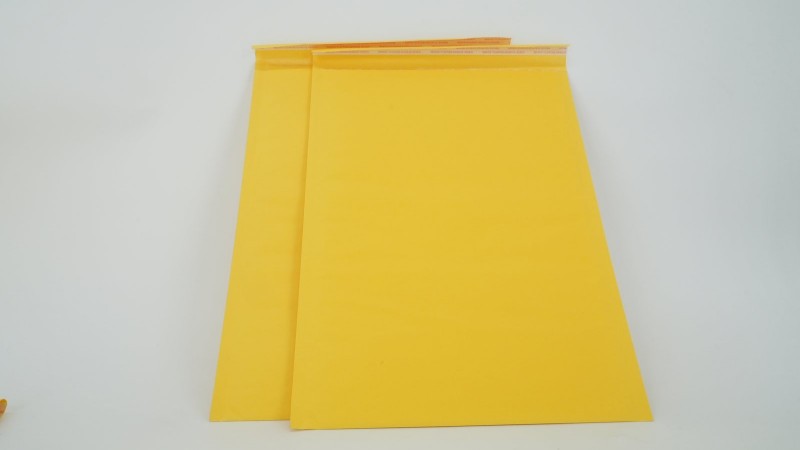
Do not choose a padded mailer from the product’s bare dimensions if the product will ship with a sleeve, card insert, protective wrap, or small accessory. Pack the item the way it will actually leave the warehouse. Then measure the packed length, width, and thickness.
Use the mailer’s usable internal dimensions, not only the outside dimensions printed on a supplier chart. The closure flap and side seams reduce the practical opening. A mailer that technically matches the product may still be awkward to load or too tight to seal.
Too small, correctly fitted, or too large?
- Too small: the product is difficult to insert, the side seams bow out, and the flap is under tension.
- Correctly fitted: the product slides in without force, the closure area remains flat, and movement is limited.
- Too large: the item shifts, corners rub against the lining, and the shipment may use more material and postage than necessary.
There is no universal “best” padded mailer size for a product category. A small book, a phone case, and a set of cosmetics may all be sold through ecommerce, but they do not create the same packed thickness or protection requirement. For a broader range of custom formats, review the site’s custom packaging products before deciding whether a bubble mailer or a box is the better fit.
Padded Mailer Sizes: A Practical Selection Method
- Pack the item first. Include the inner sleeve, card, wrap, or insert that will be used in production.
- Measure length, width, and thickness. Measure the widest and thickest points, not only the front face.
- Compare with usable internal space. Check the supplier’s usable size and closure clearance.
- Test insertion. The operator should not have to push or twist the item into the mailer.
- Shake the closed sample. A little movement is normal; a product that slides end to end needs a tighter size or an inner restraint.
- Measure the finished shipment. Record the sealed weight, longest side, width, and thickest point before choosing postage.
A useful business rule is simple: choose the smallest practical mailer that fits securely and leaves the closure unstressed. Do not reduce the size so aggressively that damage increases. Postage savings disappear quickly when the result is a replacement shipment.
How to Address a Bubble Mailer
Use the largest flat face as the address side. Put the recipient’s name and delivery address in a clear central area. Keep the return address separate, normally toward the upper-left area, and leave enough space around both addresses for the carrier label or postal markings.
For U.S. mail, the USPS addressing guidance recommends clear printing, a readable address, and placement parallel to the longest side. Carrier rules vary by service and destination, so international shipments should be checked against the current requirements for the actual route.
Printed labels are usually easier to standardize than handwriting for repeat shipments. Use a dark, high-contrast typeface, keep the barcode flat, and do not place the label across a fold, curved edge, closure flap, or rough seam. If an old mailer is reused, cover or remove every old label before applying the new one.
Where should the shipping label go?
Place the shipping label on the broadest uninterrupted area of the mailer. The exact position depends on the carrier’s instructions, but the practical aim is the same: the barcode should be fully visible, unwrinkled, and easy to scan. A label that wraps around the edge may still stick, but it creates an avoidable scanning risk.
How to Pack a Bubble Mailer Correctly
Start by checking the product for sharp corners, clasps, exposed edges, or surfaces that can scratch. Cover those points before the item enters the mailer. The bubbles protect against general handling; they do not magically stop a sharp metal edge from puncturing the lining.
- Place the product in its sleeve or inner wrap.
- Add a card insert or light paper padding if the item can move.
- Center the product so the weight is not concentrated at one end.
- Slide it fully inside without forcing the seams outward.
- Close the flap and press across the adhesive line from one side to the other.
- Check the seal, then apply the label to a flat outer surface.
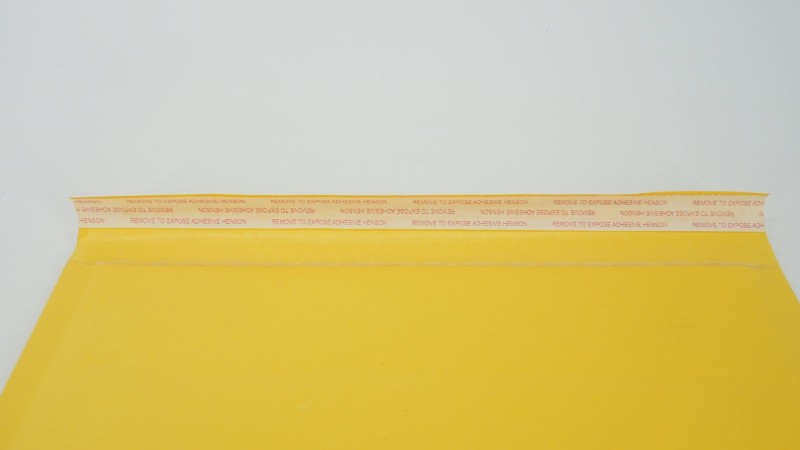
For a fragile small item, add a rigid insert or move up to a corrugated mailer box. For a heavy item, a bubble mailer may fail even when the outside looks intact because the contents concentrate force on the seams. The right question is not “does it have bubbles?” It is “does this complete pack-out protect the product on this route?”
Bubble Mailer vs. Poly Mailer vs. Shipping Box
| Format | Protection | Best fit | Watch out for |
|---|---|---|---|
| Poly mailer | Low cushioning | Soft goods and flexible products | Little protection from crushing or impact |
| Bubble mailer | Light cushioning | Small goods, books, accessories, samples | Limited rigidity and corner protection |
| Corrugated mailer box | Higher rigidity | Crush-sensitive or irregular products | More material, storage, and packing space |
For ecommerce teams, the choice also affects packing speed. A self-seal bubble mailer can be quick for standard items, while a box may require folding, filling, and tape. But speed should not be measured alone. Track postage, packing labor, damage, returns, and storage together.
When your products have predictable dimensions and repeat shipping volume, custom sizing can reduce wasted space and make the packing process more consistent. For online retail workflows, see the e-commerce shipping packaging application page.
How to Ship a Bubble Mailer
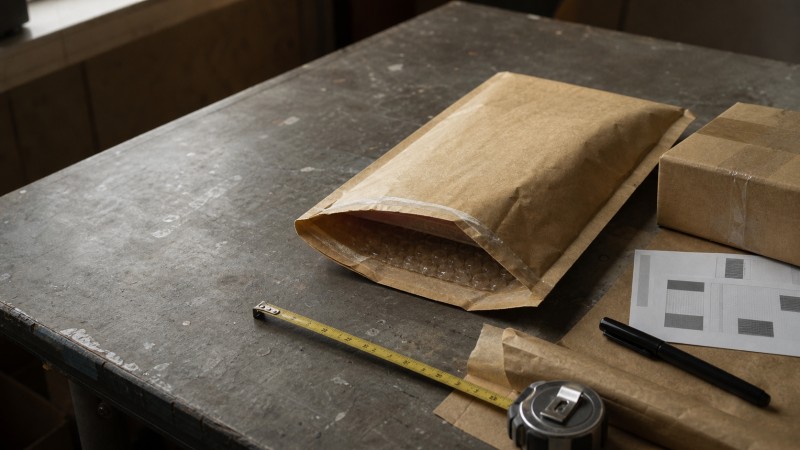
Once the mailer is sealed and labeled, weigh it in its final condition. Do not estimate from the empty mailer and product weight separately if you have added an insert, card, tape, or secondary sleeve. Those small additions can change the shipping tier.
Measure the final thickness at the thickest point and check the carrier’s current service rules. USPS classifies mailpieces using physical characteristics and has separate standards for letters, flats, and packages; its current mailing standards are the right place to verify the route-specific requirements.
Choose tracking when the item has meaningful replacement cost, a customer deadline, or a return risk. Keep the receipt or digital confirmation until delivery is confirmed. For international shipments, add the required customs information and check whether the product itself has restrictions.
If the shipment will move through a parcel network rather than ordinary postal handling, compare the finished pack-out with the carrier’s own packaging guidance. The FedEx customer packaging guidelines are a useful reference for label protection and general package preparation.
Bubble Mailers for Ecommerce Fulfillment
Businesses rarely need one mailer size for every SKU. A better approach is to group products by packed dimensions and thickness, then test a small number of candidate sizes. Record insertion time, closure stress, final weight, and damage or return feedback.
For repeat orders, decide whether you need kraft paper, white paper, poly, recycled content, a tear strip, a second sealing strip, or custom printing. A custom bubble mailer can carry a logo and brand color, but the print should not make the label area confusing. Keep operational information readable.
Supplier review should cover more than the empty bag. Ask about usable internal size, bubble thickness, closure performance, print registration, carton packing, sampling, and inspection. A factory-backed packaging production workflow can help connect the size decision to sampling, quality checks, and export handover.
Common Mistakes to Avoid
- Choosing a size from the product name instead of the packed dimensions.
- Assuming bubble lining is enough for a heavy or fragile product.
- Placing the barcode over a seam, fold, or curved edge.
- Sealing while the flap is under visible tension.
- Using one mailer size for products with very different thicknesses.
- Quoting shipping cost before weighing and measuring the finished mailer.
Final Checklist Before You Ship
- The item is packed as it will actually ship.
- The mailer fits without forcing the seams or flap.
- Weak edges and sharp points have extra protection.
- The product does not move excessively.
- The address and return address are clear and separate.
- The barcode is flat and unobstructed.
- The sealed mailer has been weighed and measured.
- The selected service matches the destination, timing, and tracking need.
FAQs
How do I address a bubble mailer?
Place the recipient’s address clearly on the main flat face and keep the return address separate, usually near the upper-left area. Keep labels and barcodes away from seams and folds.
What size bubble mailer do I need?
Measure the product after inner wrapping, then select a mailer with enough usable internal space for easy insertion and closure without excessive movement.
Can I ship fragile items in a bubble mailer?
Only when the product is light and the added inner protection controls the main risks. Glass, crush-sensitive items, and heavy products usually need a rigid insert or corrugated box.
Is a bubble mailer an envelope or a package?
That depends on the final size, thickness, weight, rigidity, carrier, and service. Weigh and measure the sealed mailer, then check the current rules for the service you plan to use.
Can businesses order custom bubble mailers?
Yes. Businesses can usually discuss custom size, outer material, bubble protection, closure, print coverage, carton packing, samples, and repeat-order requirements with the supplier.
Conclusion
Learning how to ship a bubble mailer is mostly a matter of controlling small details. Use the packed product to choose among padded mailer sizes, match the cushioning to the product’s fragility, keep the address and barcode on a clean face, and measure the sealed shipment before selecting postage.
For a business, the next step is to turn those checks into a repeatable mailer standard. If your team ships the same type of product regularly, send the product dimensions, weight, quantity, target market, artwork status, and deadline through the custom packaging inquiry form to compare size, material, closure, printing, and sampling options.
Send Your Packaging Brief to Our Team
Share your product type, format, size, quantity, material, destination, and required date. Our team can support artwork review, sampling, production, inspection, and export coordination.
Contact us for a project-specific recommendation.
Ready to build packaging with a factory team?
Send your product size, material, artwork, quantity, destination, and deadline so our team can focus the first review on quotation and sampling.